Trent’s Mistake
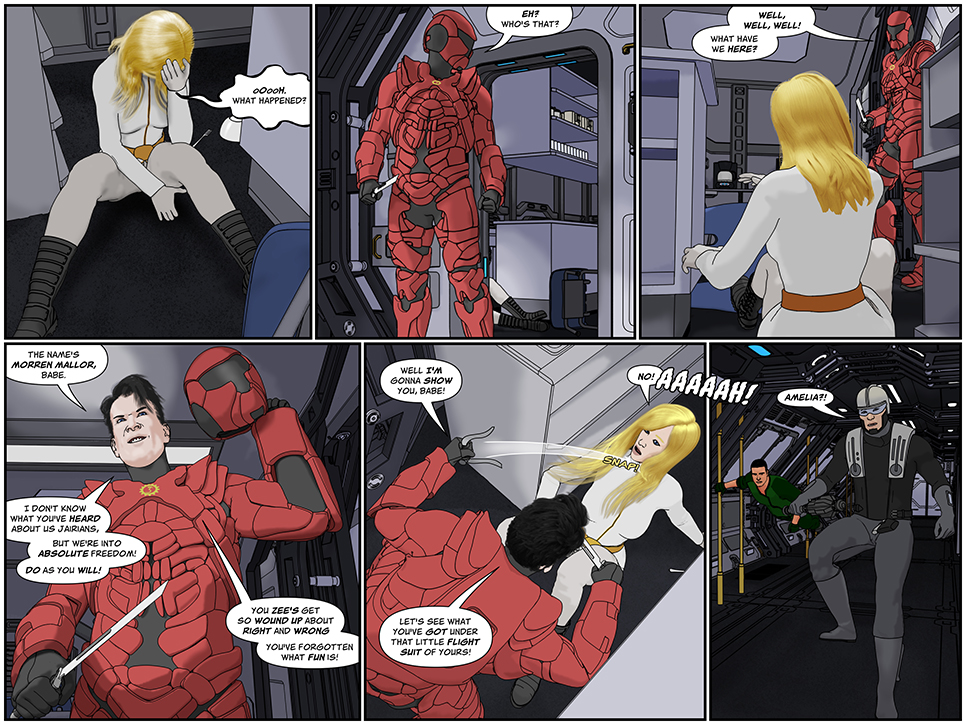
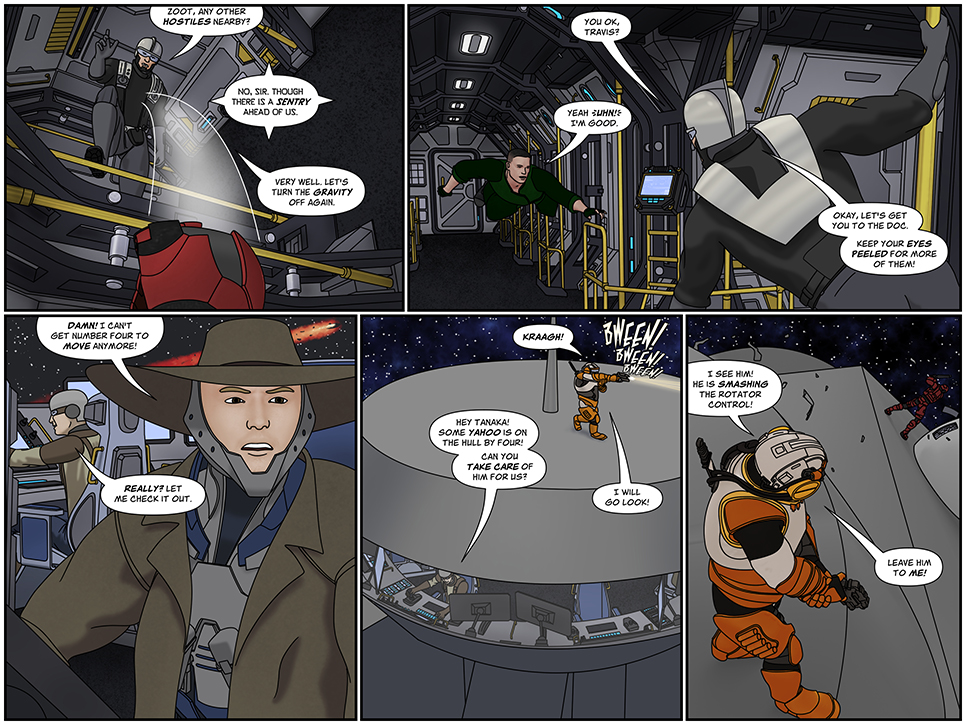
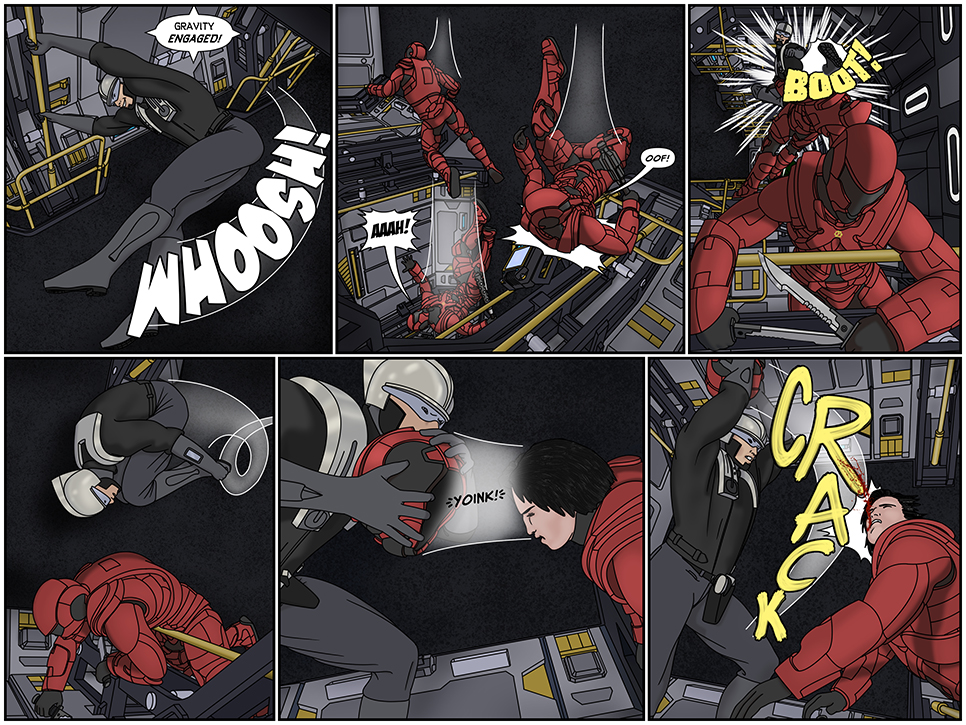
In the galley, Defender Zik lands a solid blow with his club, shattering the visor of Morren’s helmet! Someone’s in trouble if he gets spaced!
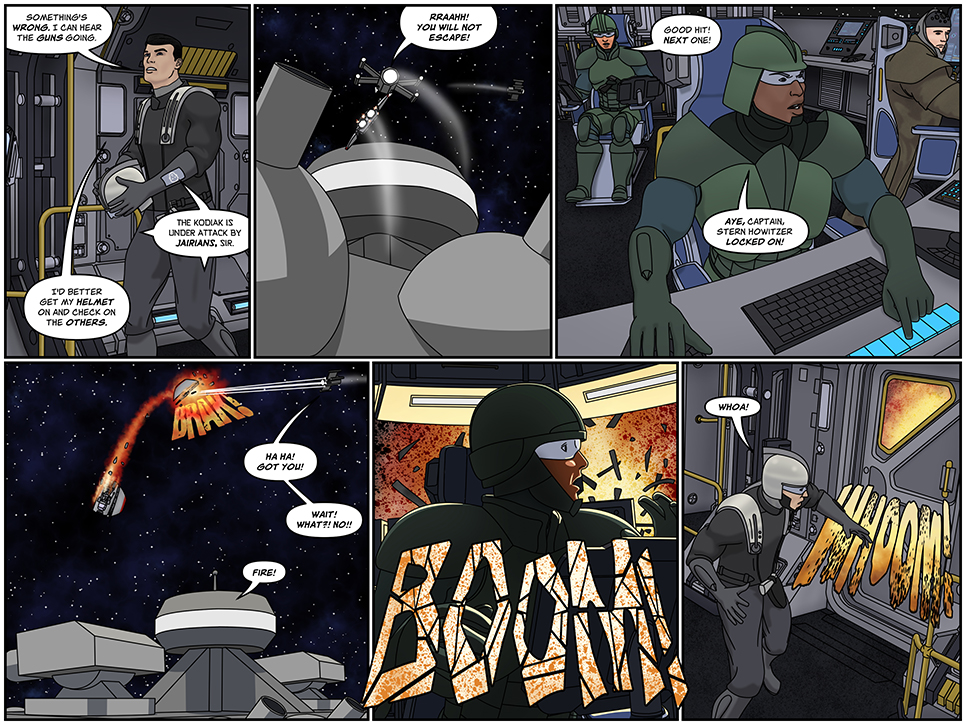
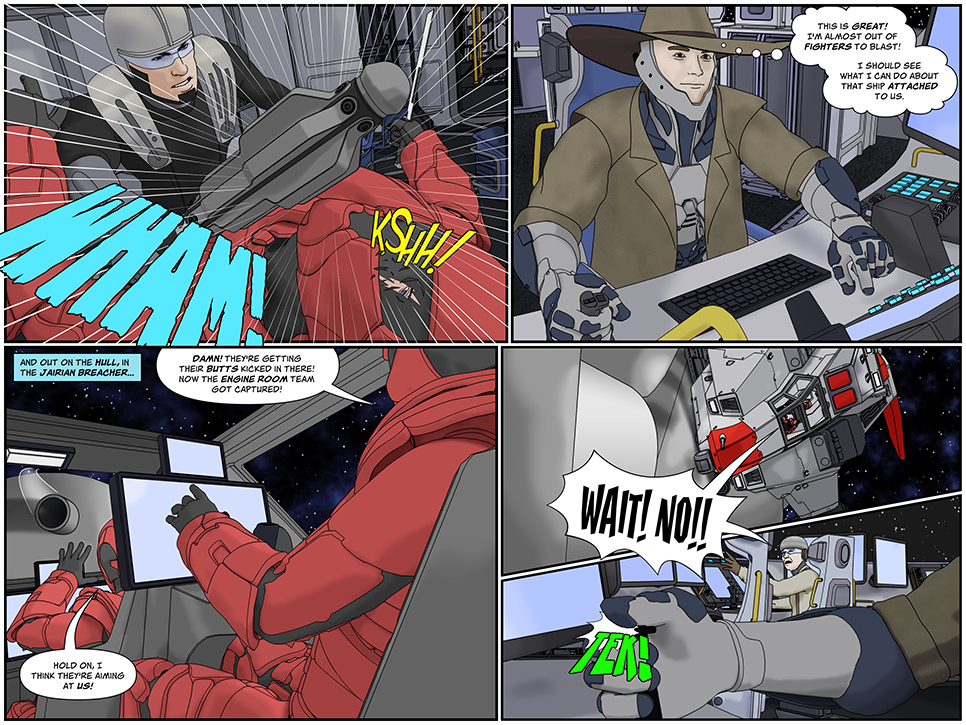
Meanwhile, on the bridge, a confident Trent is running out of targets for the Kodiak’s cannons. Between the Chadee snub fighters and his efforts, they’ve eliminated almost all of the Jairian fighters! He turns his attention to the Jairian breacher ship, attached like a lamprey to the side of the Kodiak. With the right angle, maybe he can blow it right off the hull…
In the breacher, the copilot is alarmed at the fact that all the boarding parties seem to be disappearing on him. But the pilot is even more alarmed to see one of the Kodiak’s cannons swing towards them.
At the last moment, both the Jairian pilot and Gerald realize what’s about to happen, but their cries go unheeded as Trent mashes the fire button! What’s the big deal?! Find out next page!